Showing posts with label crafts. Show all posts

Tuesday, August 5, 2014

Children's Book Themed Baby Shower

Recently I planned my first baby shower for my sister-in-law, Kallie. I wanted to do something colorful, cute, fun, and boy friendly. I searched online and did lots of research about different themes, decor, food and games. Man was I overwhelmed after that, pinterest had some amazing looking baby shower ideas and I had no idea how I would pull it off. Kallie had two previous showers that were sock monkey themed. Baby Karson's room is monkeys, but I wanted to do something different. I finally found some stuff on children's book themed baby shower and thought it was adorable. I pitched the idea to my mom who was helping me and she also loved it. It worked out perfectly because my mom had a lot of children's books from being a school teacher (FYI you can also check them out from the library or look at goodwill). The cute thing about the book themed is you can pair food with your children's books that you pick.


Here are the books I chose-
 Alice and Wonderland - Punch with DRINK ME tags
Cloudy with a Chance of Meatballs- Meatballs
3 little pigs - Pigs in a Blanket
Peter Rabbit - Veggies and Hummus
The Stinky Cheese Man - Cheese and Crackers
Green Eggs and Ham - Green deviled eggs and Hawaiian ham sandwiches
The Very Hungry Caterpillar - Fruit shaped as a caterpillar :)
Goodnight Moon - Moon Pies
The Kissing Hand - Choc Kisses
If You Give a Mouse a Cookie - Choc Chip Cookies
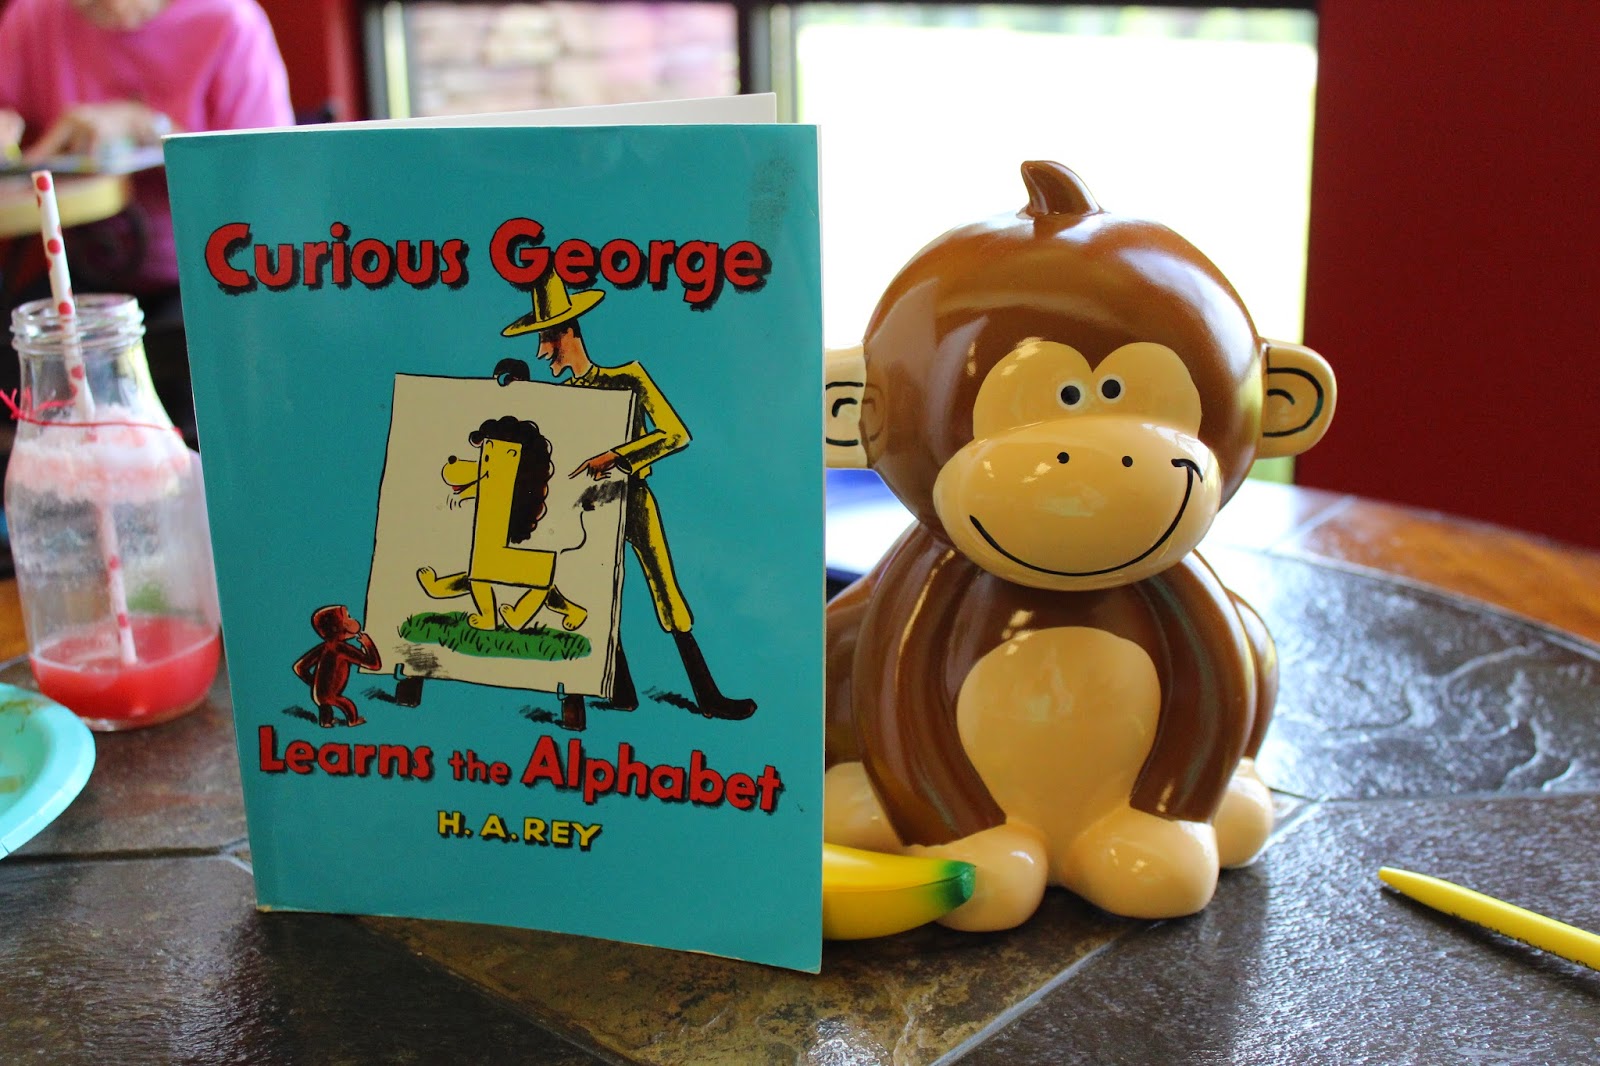
Curious George - Banana Pudding
Cake - Chicka Chicka Boom Boom, The Very Hungry Caterpillar and Oh the Places You Will Go.
The Giving Tree- Gifts
Where the Wild Things are - Photobooth with paper crowns, sceptres, and chalkboard signs with quotes from the book

 Drink me inspired by Alice in Wonderland -  Milk glasses bought from Michaels (use coupons can get expensive)

 My mom and her friend the lovely Debbie Wood had some stuff animals to go along with the books that made great decorations and center pieces for tables. A big thanks to both of them for helping me so much! I wish I gotten a better picture of the fruit caterpillar cause it was so cute.


I found some adorable Dr Seuss fabric from Joann's Fabric and paired it with other colorful fabric to make some cute bunting.
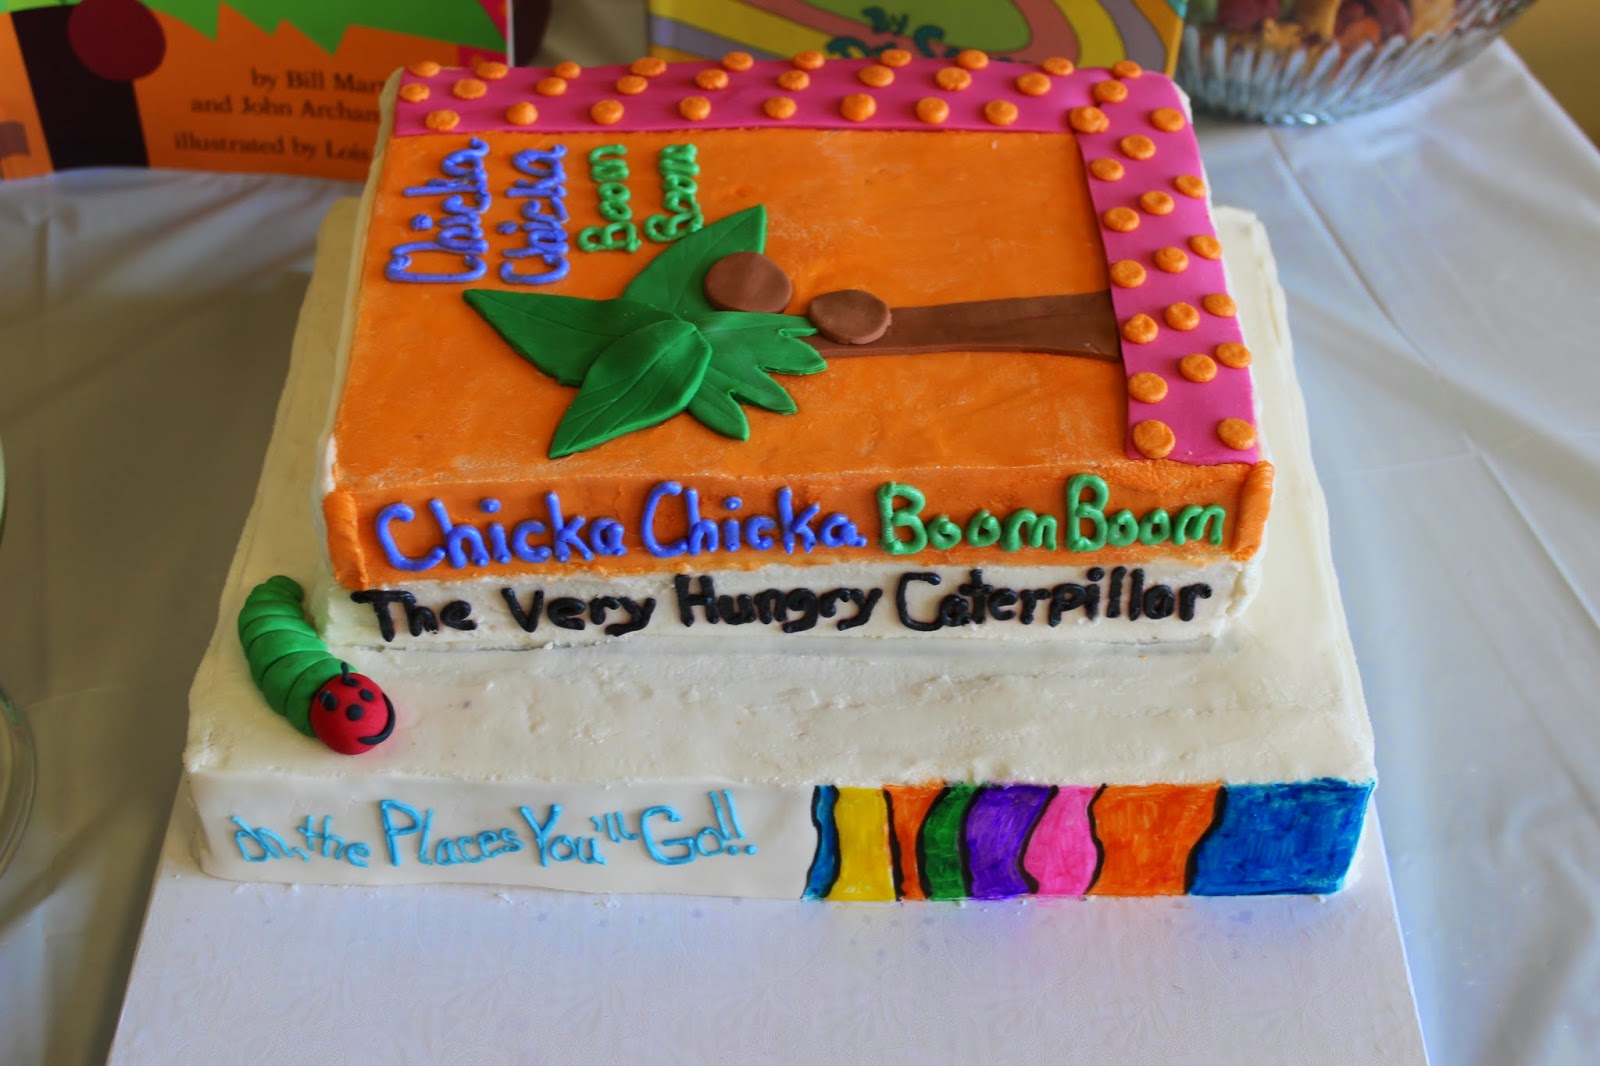

 The adorable cake that was made. I really love how the cake turned out!! Cake done by Doodles Cupcake Bakery .

Books used as table centerpieces


 I was a little overwhelmed with trying to find the perfect baby shower game. I didn't want to do a cheesy game like guess the baby food or the candy bar in the diaper game (sorry if you like those games just not my thing and I didn't think Kallie would like them either). Then I came across some printable baby bingo cards and thought I can totally make those. I made the children book colorful bingo cards using word and printed them on card stock. I added clip art from different children's book to go along with the theme. We had colorful goldfish crackers for the game pieces.


 Presents for the Giving tree.


 Here are pictures with the photo props inspired by Where the Wild Things Are.


FYI I will post some DIY's for the baby shower at a later date. I feel like I overloaded you with enough pictures.

Saturday, August 10, 2013

Pretty washi magnet bookmarks DIY


SO I have been obsessed with making these lately! These bookmarks are so easy to make and cute. I have been searching for a DIY bookmark tutorial on pinterest and found an awesome one at lemonsqueezyhome blog, which I adapted this from. I followed the steps on lemonsqueezyhome to make mine, but played around with lengths and width of my bookmarks. I wanted to be able to use a variety of patterns for mine.I think these would be a cute gift ideas and you could personalize them too. My favorite is "Have a sweet read."

Supplies
Washi Tape - I ordered mine off Etsy at 2 shops TheWashiShop and pikwahchan
Adhesion magnet sheets - Bought from Michaels
scissors
Construction paper - You want your paper to be slightly sturdy, but not too heavy. If the paper is to flimsy the bookmarks are hard to separate apart and are just annoying. If its too heavy then the magnets won't hold.
Sharpie and/or paint

Tutorial
1. Cut your paper to the desired width and length you want your bookmark. I played around with different lengths. I think the smaller bookmarks made with just one tape are good for bookmarking multiple things in one book. Like for instance, bookmarking in textbooks, passages in the bible and other inspirational books. I like the bigger bookmarks for marking one spot in a book. 
2. Use your washi tape and cover the cut paper along the length and cut the excess tape. Make sure you cover the back and front of the paper. Also, be sure to line up the tape with its match on the other side. Smooth out any bubbles in the tape.After you use the desired colors for tape, if there is still paper showing for your bookmark just trim the paper.
3. Fold the cover paper in 1/2 hamburger style. 
4. Cut out 2 magnet pieces almost the width of your bookmark.


5. Peel off sticker of adhesion magnet sheets and place on the ends of the bookmark. Place magnets on the side of the bookmark that has the most flaws. If magnets are not sticking well with adhesion to the bookmark then just use a little mod modge or glue to keep them from coming off.

 
Add any cute design with a sharpie or acrylic paint to your bookmark. This is optional you don't have to add any design. Its nice to add a cute saying/fav quote or design to know what page you actually left off on.


Here is a short instagram video I made for a tutorial. It is condensed because instagram only allows you a short time. Also, FYI I made a mistake and said use contact paper, which I meant to say construction paper. Please don't go buy contact paper for this project alone it is not needed. :)


Thursday, December 29, 2011

DIY earrings and necklace

Here is a fun DIY jewelry project finally! 2 colors geometric necklace. Sorry it took so long!


Supplies


Steps


1.Kneed the clay so its more manageable. Flat the clay out pretty thin, if its too thick the triangles will not look right laying over each other. However, if the clay is too thin it will break. I used my mod podge bottle as a rolling pin!
2. Next cut the rolled clay in 1/2 like the picture above shows in image 2.
3. Next use your knife and cut a shape of a triangle from the 1/2 clay piece. I placed the cut egde of the clay piece down to form the bottom of the triangle and then cut the sides.

I used black and gold clay. The black triangle is bigger than the gold one. Make sure one of your triangles is bigger than the other. Make another set of triangles that are identical to the first 2 triangles. Then make another 2 triangles for the necklace. I made my black triangle and my gold triangles bigger because I wanted my necklace to be bigger than my earrings. In all you should have 6 triangles.
4. Pour gold glitter on the gold triangles and black glitter on the black triangles. Cover entirely!! Then shake off excess glitter carefully without distorting the clay.


5. Next take a toothpick and poke holes in your biggest triangles in the corners. My biggest triangles were my black ones so those are the ones I did. Dont poke holes in the gold triangles.

6. Place all of your triangles on some aluminum foil and bake the earrings at 275 degrees for about 15 mins. Remove the clay and let cool. Once cool take your goop and glue the gold triangles onto the black ones. Allow to set for a couple of hours. Goop holds really well but only if you let it set.


7. Once set take your jump rings and pry them open (jewelry tool could come in handy, but I managed without) and place them in the holes in the black triangle then take your chain out. I wanted dangling earring so I used about a total of 41 links. This is the tricky part because your links have to be even, but its a odd number links because the hook finding has to be attached to one. You don't want one side of your earring to be lopsided or not even ( I hope this make sense).


 I used regular scissors to cut the chain. Attach your chain within the jump rings and close the jump rings tightly. Then add your hook findings directly in the center of the chain. Repeat for other pair of earring making sure the chain is the exact length as the first. You also dont want one of the earring longer than the other. Repeat same steps for the necklace, however of course you will use more chains. The same concept applies make sure your necklace is even on both sides of the chain. I made mine long enough that I can just put over my head, but you could add a chain fastener if needed.

Heres there earrings on.

Heres the necklaces

Sunday, October 16, 2011

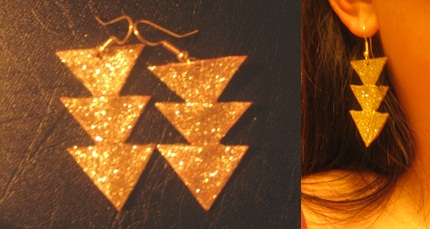
DIY Geometric Gold Glitter Earrings


Im so excited to share this finally... I am absolutely in love with my new Geometric gold earring.
They turned out so amazing! I got the inspiration from a necklace on pinterest that I came across. I immediately wanted to try to make earrings kind of similar. The necklace is from urbanoutfitters.


How 2 instructions
Supplies


Steps


1. Take one of the pieces (The clay is usually cut already into 4 sections so most likely you only need 1 of the 4 sections) of the gold colored clay, and cut it in half with the clay knife (be careful with this knife).  I used gold color clay because it was easier to paint, but use whatever color you want to use. Kneed the clay so its more manageable. Flat the clay out pretty thin, if its too thick the triangles will not look right laying over each other. However, if the clay is too thin it will break. I used my mod podge bottle as a rolling pin!
2. Next cut the rolled clay in 1/2 like the picture above shows in image 2.
3. Next use your knife and cut a shape of a triangle from the 1/2 clay piece. I placed the cut egde of the clay piece down to form the bottom of the triangle and then cut the sides. repeat this until you have a total of 6 pieces. Make sure they are somewhat symmetrical and around the same size. Use your best judgement of the size of the triangles. Dont make them tooo big because there are going to be 3 on one side. Make the size of the triangles to fit your liken, if you like big earrings then go for bigger triangles. Dont make big triangles if you dont like big earrings.
4. Next place your triangles on top of the other triangles like picture 4. put a slight bit of pressure because you want the triangles to stick to each other, but dont put too much pressure that they start losing their shape.I liked the points of the triangle facing down and I liked 3 triangles, however you can use more triangles and face them the other way if you prefer.
5. Once both pairs are done they will look like this. Take a toothpick or push pin and make a small hole in the top part of the clay for the earring hooks. Make sure you dont make them too big because it will deform the triangle shape.
6. Next bake the earrings at 275 degrees for about 15 mins. remove the clay and let cool.
7. Take whatever kind of paint you want and paint your earrings (I used glitter paint). I did about 4 coats. Then just for some added glitter I used more glitter on top and covered the glitter with mod modge to keep the glitter from falling off and getting everywhere. Let it dry.
8. Next take ur earring hooks and crip them in the hole that was made by the toothpick.
and Viola!

The earrings are perfect and I will definitley be making some more soon! Endless opportunitys with this and next Im going to do the same thing but try circles!

Saturday, May 7, 2011

Updates and some DIY ideas!

So I have been so busy studying for my physics register and taking part in school activities. On thursday, I officially passed my physics registry and now I am a RDMS (Registered Diagnostic Medical Sonographer)! For school I just have to pass one more OB, but I am giving myself a month to relax because I stressed myself out so bad taking them back to back like that. Also I wanna congratulate some of my fellow classmates for graduating today!!! so excited for yal.
I am also excited cause next week I am going on a cruise for the 1st time to the Bahamas w/ Carvinal Cruise. I will be working alot this weekend. I work a double on bar today and its graduation and then I work a double on bar tomorrow and its mothers day so I hope bring in the money!
Hopefully I will be able to work in some painting and DIY crafts I been wanting so bad!

So heres some Ive been dying to try
3. DIY Earrings - Instructions via dismountcreative blog, these earrings are so awesome I can't to try and then develop my own style. They are made out of polyer clay. What endless possibilities!


2.Then a DIY geometric block necklace from the same site, dismountcreative,


3. Color block pouch via Just B, tutorial is located when you click the link. I have been obsessed with bright corals!. This is perfect!


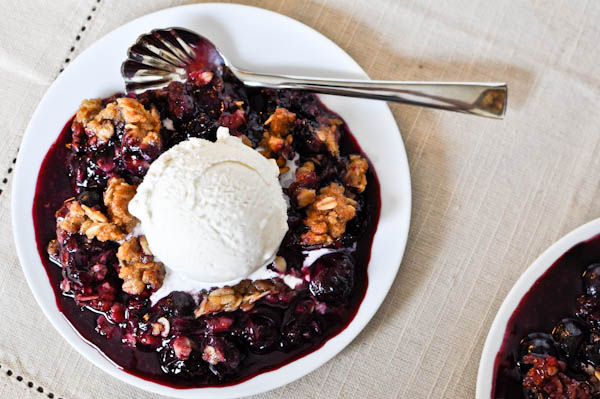
4. Blueberry crisp! OMG it looks amazing I cant wait to try to make this when I get back from my cruise...YUM! recipe located on howsweeteats blog!