Showing posts with label harry potter. Show all posts

Sunday, December 22, 2013

DIY Harry Potter Inspired Etched Glasses

So before I went to Scotland I made my sister some custom glasses. Since she loves Harry Potter I thought it would be cool to make her some glasses with different drinks/potions. So I wrote down some ideas of drinks/potions to put on the glasses. Then I tried to match them up to the style of glass.

For instance, the ones I made were....
Polyjuice Potion - Goblet glass or red wine glass
Butterbeer - Beer mug
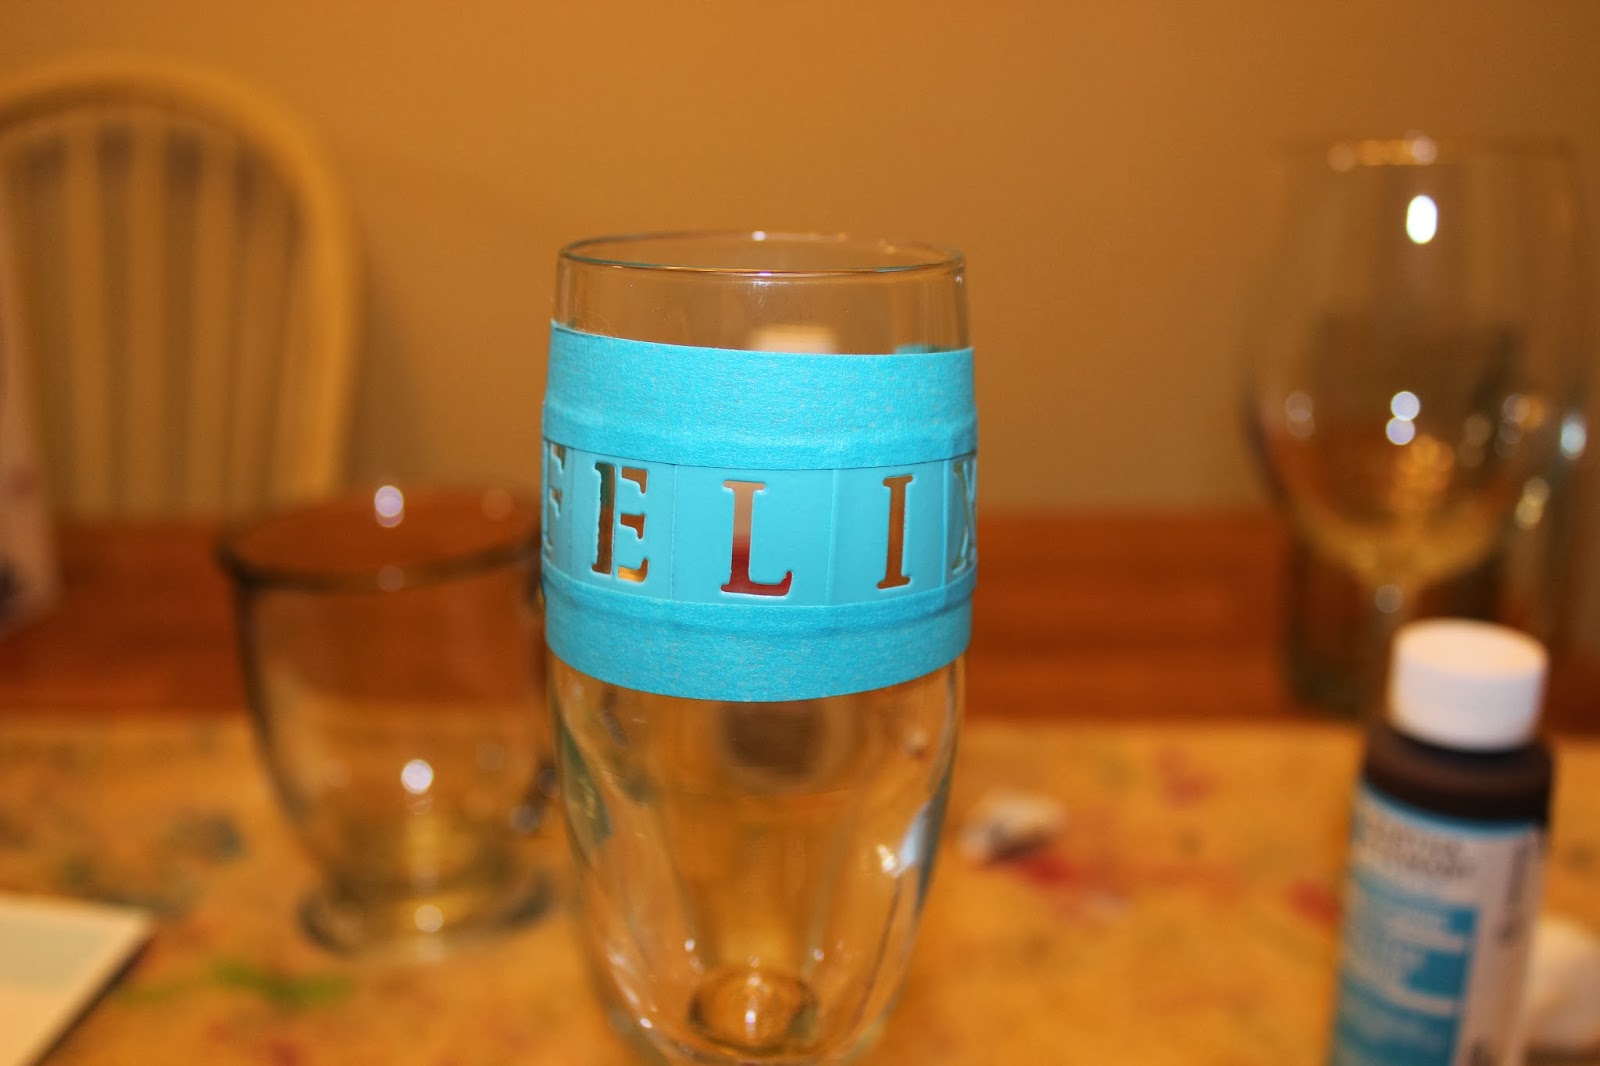
Felix Felicis - Champagne glass
Also, I thought Accio Coffee was cute so I did one of those in a coffee mug of course..
Other ideas - Veritaserum, Pumpkin Juice, Fire Whiskey (shot glass or whiskey glass), Amortentia, Elixir of Life, and Mead are some others.

Etching glass is so easy!! Even if your not a crafty person you can do this! Once you buy all the supplies you can custom anything that is glass. It is perfect for gifts and if you need last minute Christmas gifts this is perfect! Also, I want to say I tried to take good pictures of the glasses, but it was hard because I was just learning my camera! So please figure me.


  Supplies
 A variety of glasses - I got mine from walmart, bed bath and beyond and home goods
Etching Cream - Michaels (tip bring a coupon the stuff is kind of expensive)
Paint brush
Martha Stewart Vinyl stick-on letters - Michaels (use a coupon) 
Painter's tape 
Alcohol and Cotton balls 
Old towel - I have crafting towels that have tons of paint on them. 
 Gloves
 

Instructions
- Wash all your glasses and dry them. Next place alcohol on a cotton ball and rub down the area you will place letters.
 
 - Add the vinyl letters onto glass ensuring they are stuck on the glass entirely to avoid any smudges. Add tape around the letters to keep from getting cream anywhere else.

 - Read and follow the directions on the etching cream.
-Use gloves when apply the etching cream and apply a thick layer of cream with a paint brush.

  
- Rinse after 15 minutes of allowing the cream to set (this is how long my directions said to allow to set. Make sure to follow what the directions on your etching cream)
-Hint check the etching before removing the stencil because sometimes it won't look even and there will be some spots you might have missed.You can tell because the etched glass has a frosted appearance so you want that to be even in your letters. Its easier just to reapply the cream vs trying to reline up the stencil with the already etched letters .


 Accio Coffee

Butterbeer

 Polyjuice Potion

I bubble wrapped them to bring them on the plane.


Sunday, April 14, 2013

Bleach pen DIY


There are so many bleach pen tutorials on pinterest. I thought I would attempt it because I really wanted a shirt that says "and in that moment I swear we were infinite". I used the tutorial from somethingturquoise. I thought mine turned out pretty good especially for me not having the best handwriting.

Supplies
T- shirt/tank top - any darker color shirt ( I got mine from walmart)
Bleach pen
white color pencil (for sketching)
wax paper
storage plastic tub top OR cardboard (this is just to keep the bleach from bleeding through the other side of the shirt)


I thought really hard about what I wanted to sketch from my shirt. This is one of my fav quotes so of course I want it on a T-shirt!!
First step is to sketch your drawing first with a white color pencil. You also can free style if you want to, but I don't have the best handwriting as I stated before so sketching works best for me.


FYI shake your pen before using the first time. As you can see the A in AND bled more because I didn't shake it and a lot of liquid came out then the gel. OH well though imperfection is beauty right... it gives my shirt character. After shaking your pen just go over the color pencil with bleach pen. Leave the bleach on for at least 10 minutes. If it is a thick shirt then you might want to leave on longer.

The gel hardens a little so the next step is to rinse the gel off with a water. Make sure there is pretty good pressure in your stream of water. You don't want to rub the gel onto other areas of the shirt. After all the gel is off. Rinse the shirt with soap and water to make sure all the bleach is off. I used dawn soap and it worked fine. Next I just machine washed both of the shirts I made.


Harry potter inspired shirt. I love how the designed ended up coming out!


Monday, January 23, 2012

Lovely Tats

Arrows!

OMG im in love with this arrow tattoo and I love its location!! Its perfect!! Found via dearinspirationblog


Found via pinterest...spoolsewing


Harry Potter tattoo Yes please!! Found Via rodeo


Source: images.search.yahoo.com via Ashlea on Pinterest

Cute owl tat!